Our plugin works with png images of the same size with transparent backgrounds. Recommended size for the PNG images is 1500px X 1500px. Squares work best in general. Each png image represents a transparent layer with the product component on the product preview. The software stacks images automatically – showing different product parts on top of each other. You can create a full representation of the product and offer a true ‘Build Your Own Product’ experience.
Please note that if you upload big images (for example 3500x3500px) each more than 1 MB the custom product page will LOAD VERY SLOW. So please use smaller images (up to 1500px). And the recommended size for the images is 500kb - 800kb.
PLEASE USE PNG IMAGES
IMPORTANT: To ensure the custom product categories / options / custom layers are saved properly – first click SAVE at the bottom of the category / panel / option screen, and only after that the SAVE button at the top of the page.
Sample product image folder (XBOX Controller)
Before creating a new product you should prepare photos to fit all the parameters. You can do it in Adobe Photoshop.
Please open it, and after that first of all you should:
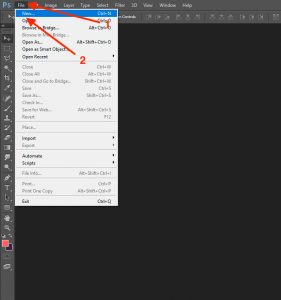
1) create a new product ( File (1) –> New (2), or click Ctrl + N )
2) In “Options” window please select:
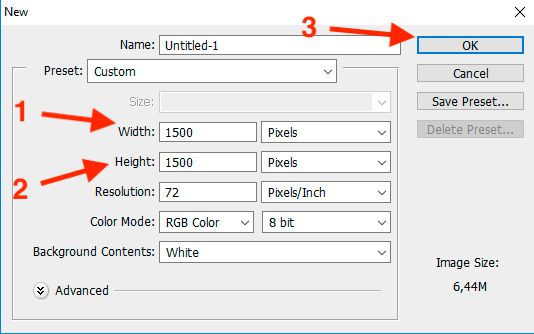
(1) Width: 1500 Pixels .
(2) Height: 1500 Pixels .
And then click on “OK” button (3).

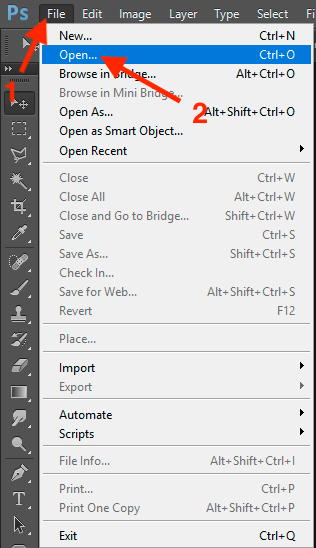
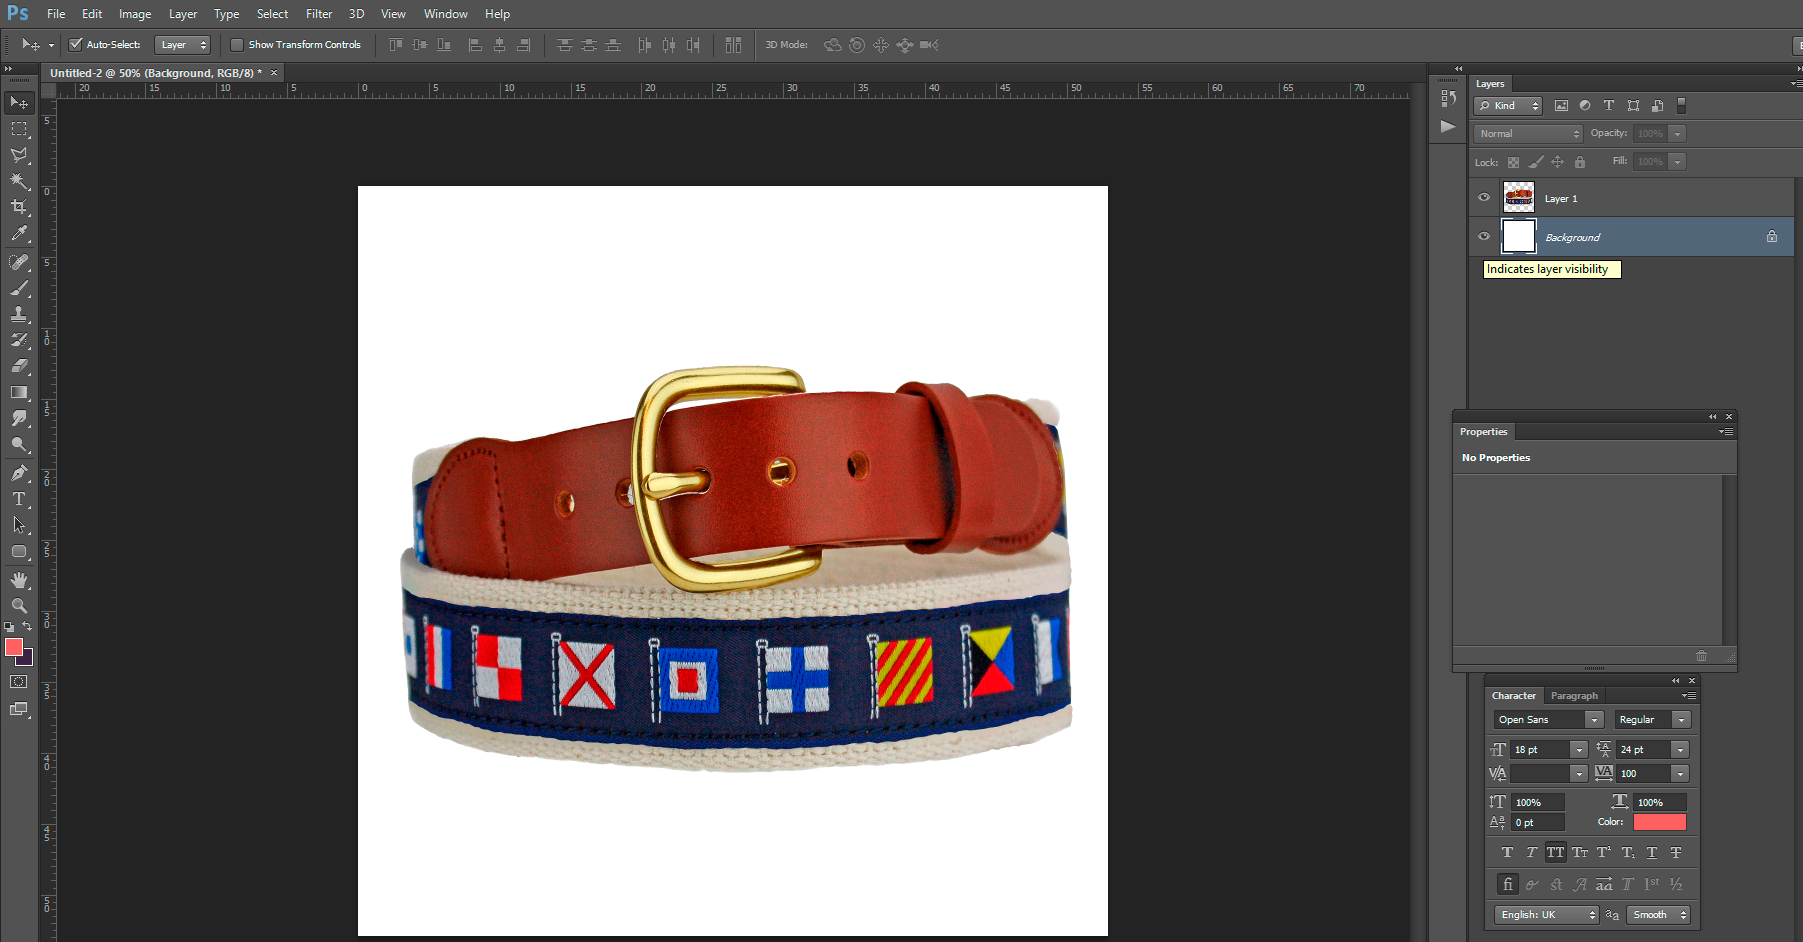
3) Next step – you need to open the photo of your product
Click on “File” button (1), and “Open” button (2), or Ctrl + O
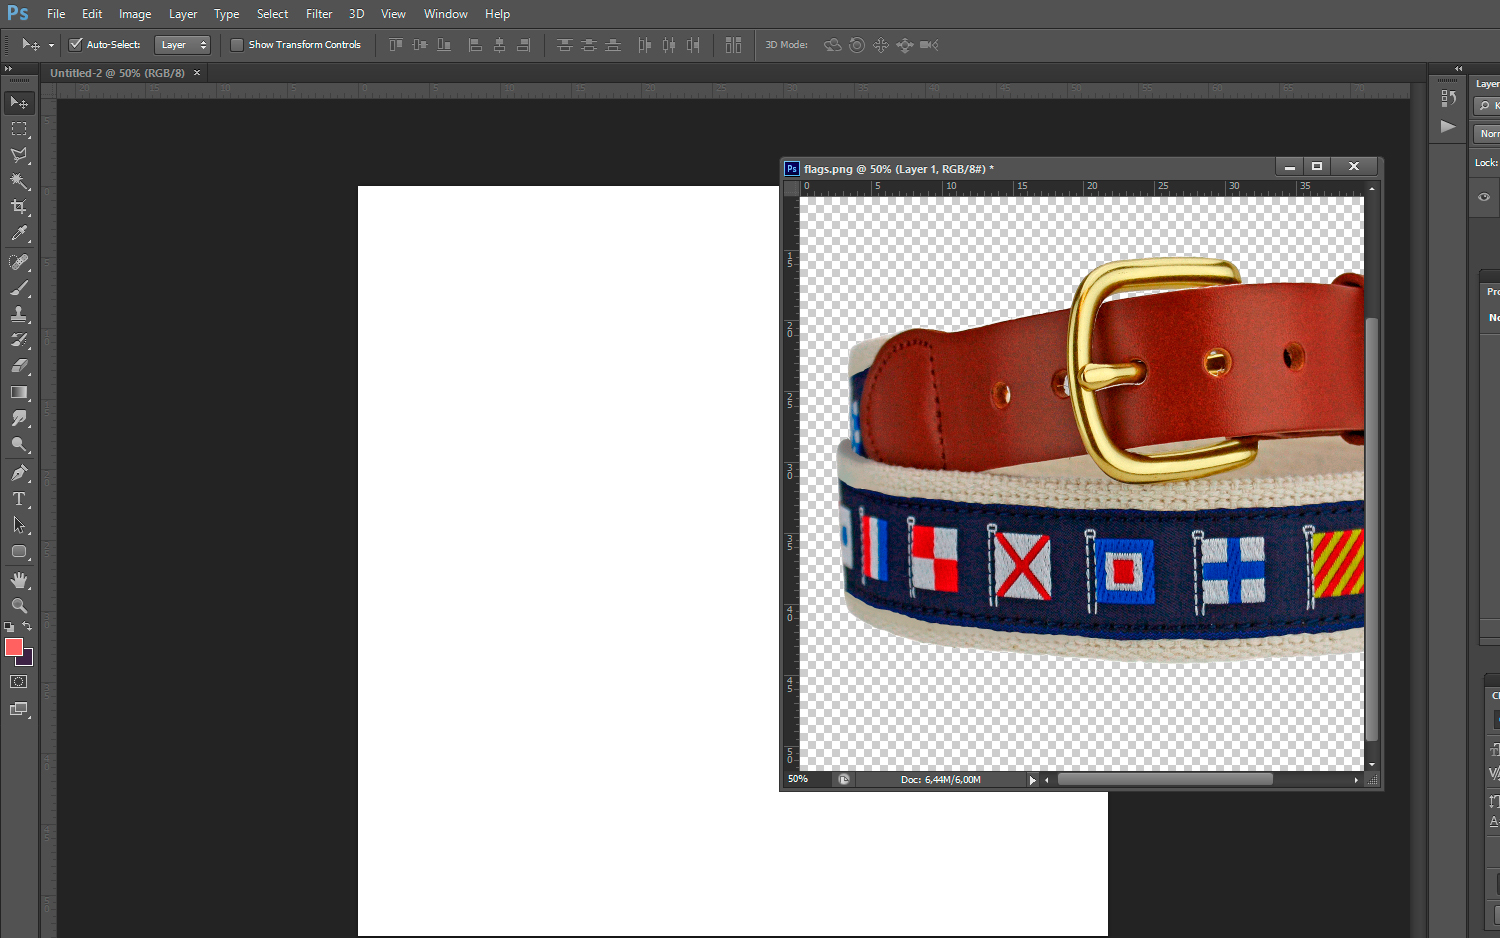
4) Then drag the product to a pre-created document 1500x1500px.
5) In “Layers” field click on the eye ( on the left of the “Background” button ) and disable Background layer.
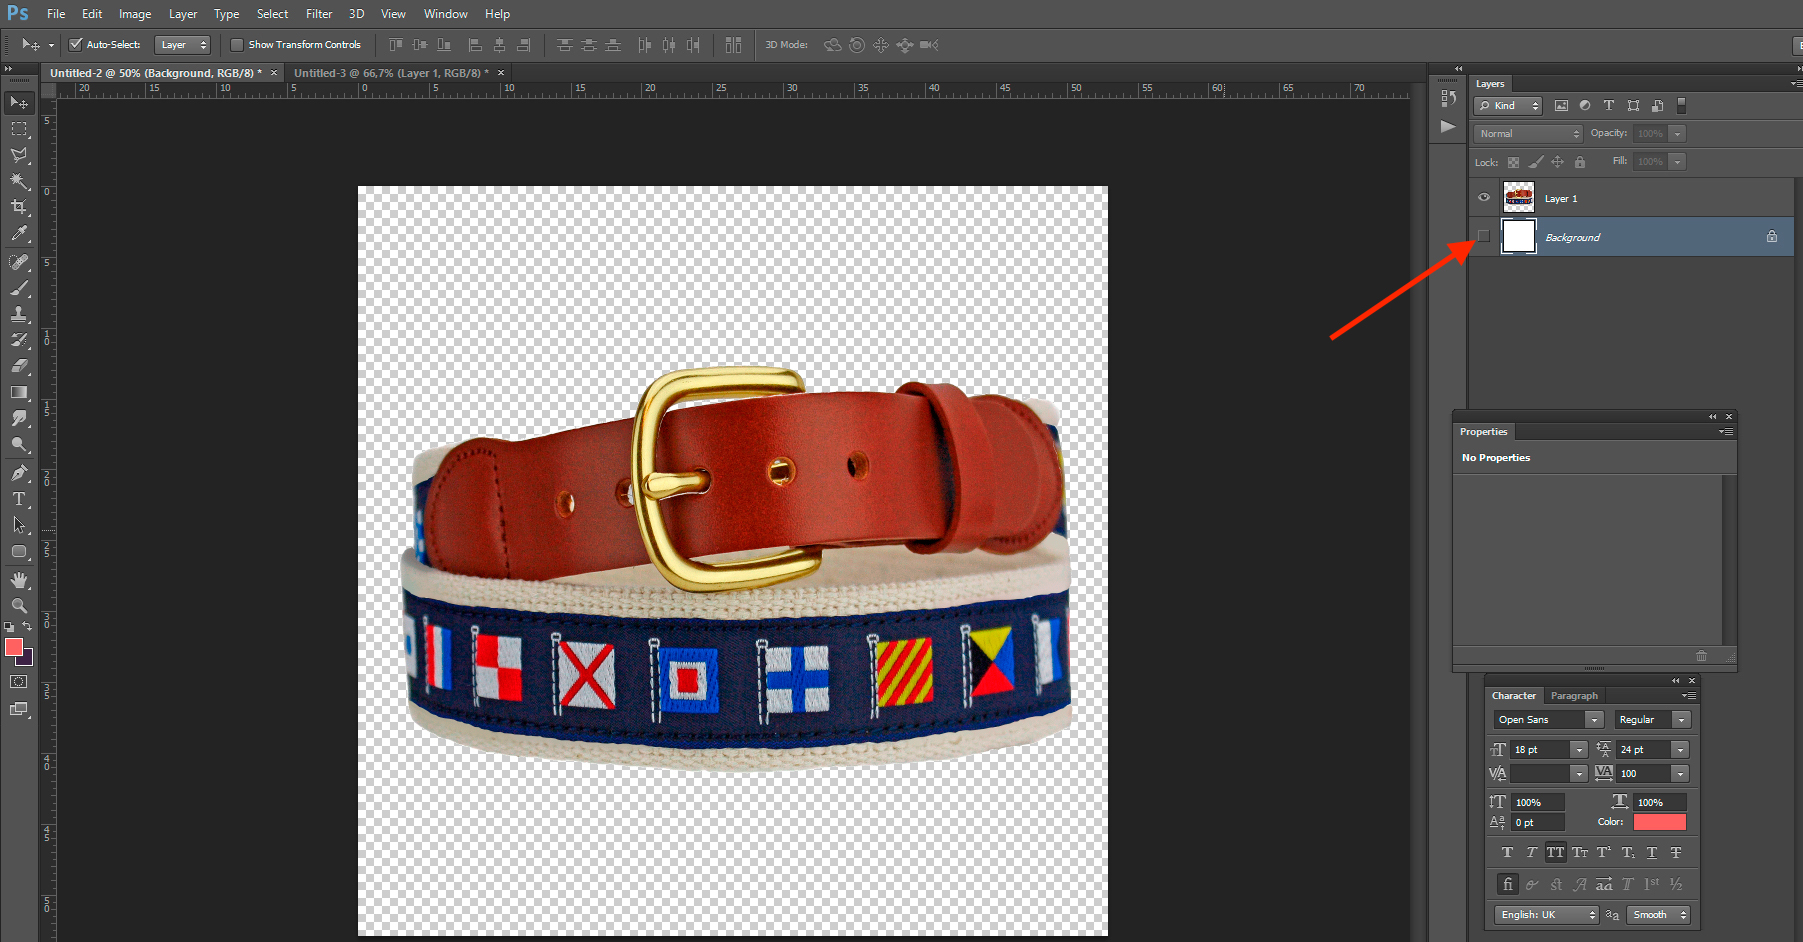
6) In Сase if your Product photo larger than 1500×1500 px click “Ctrl+T” clamp “Shift” and pull around the corner.
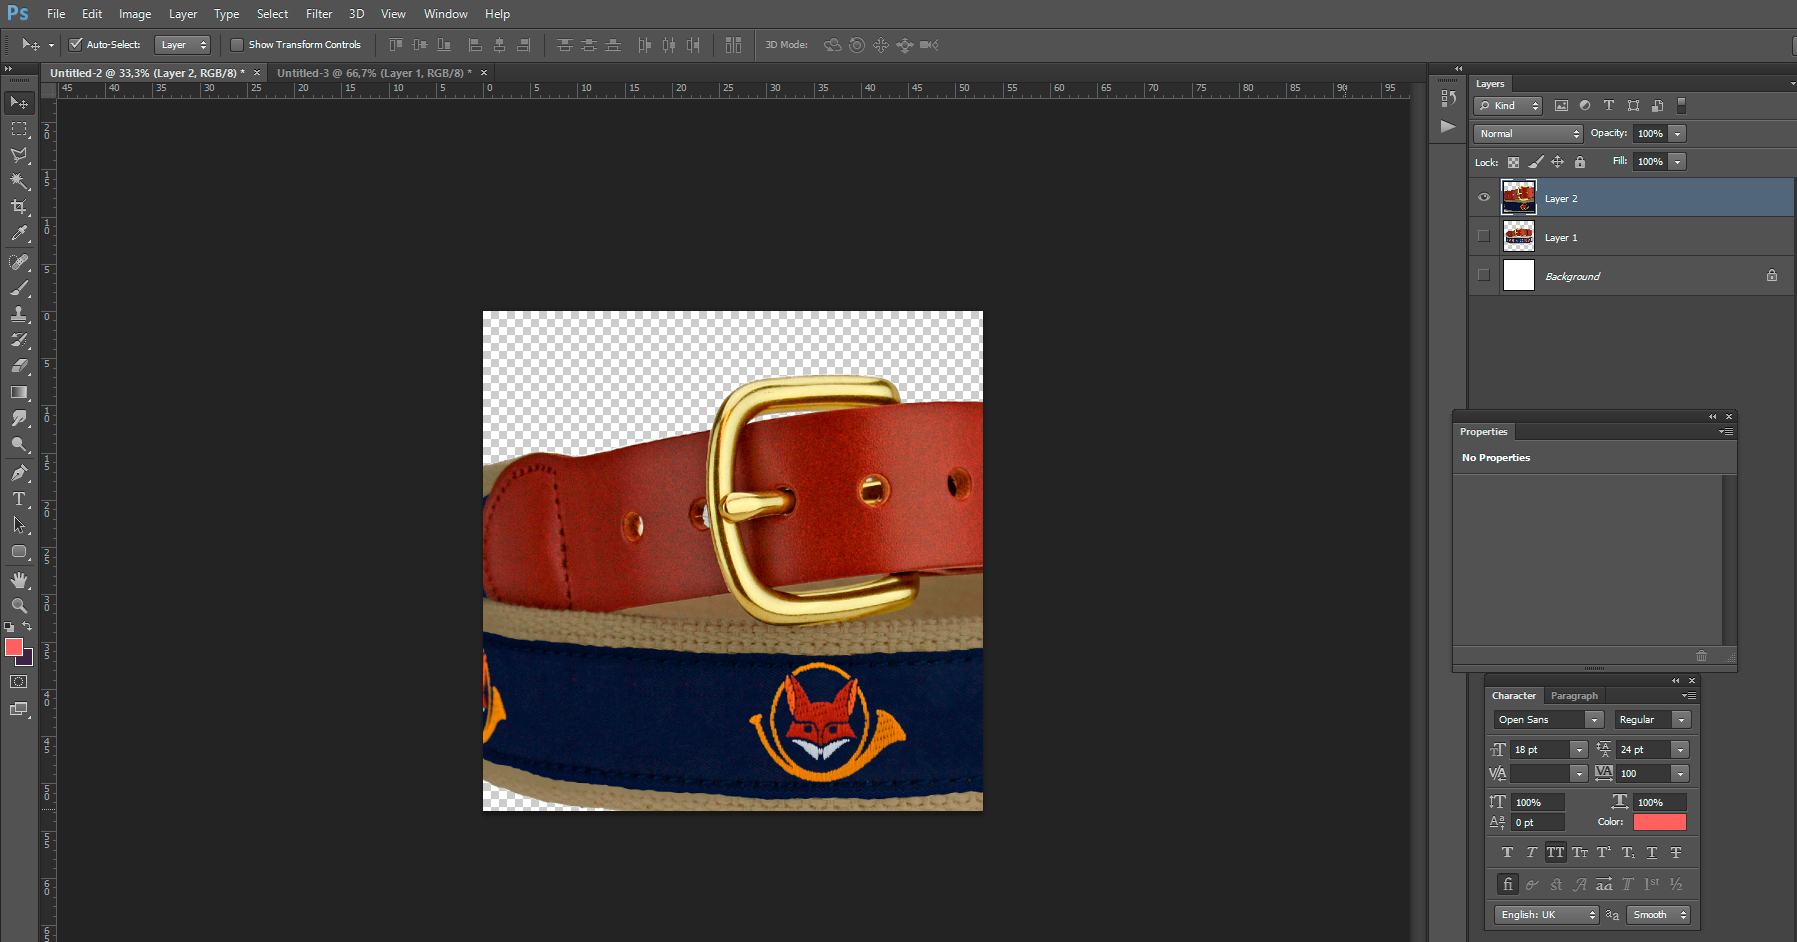
7) After it we need to cut a Custom detail. You can make it in different ways. Please watch the video for better understanding.
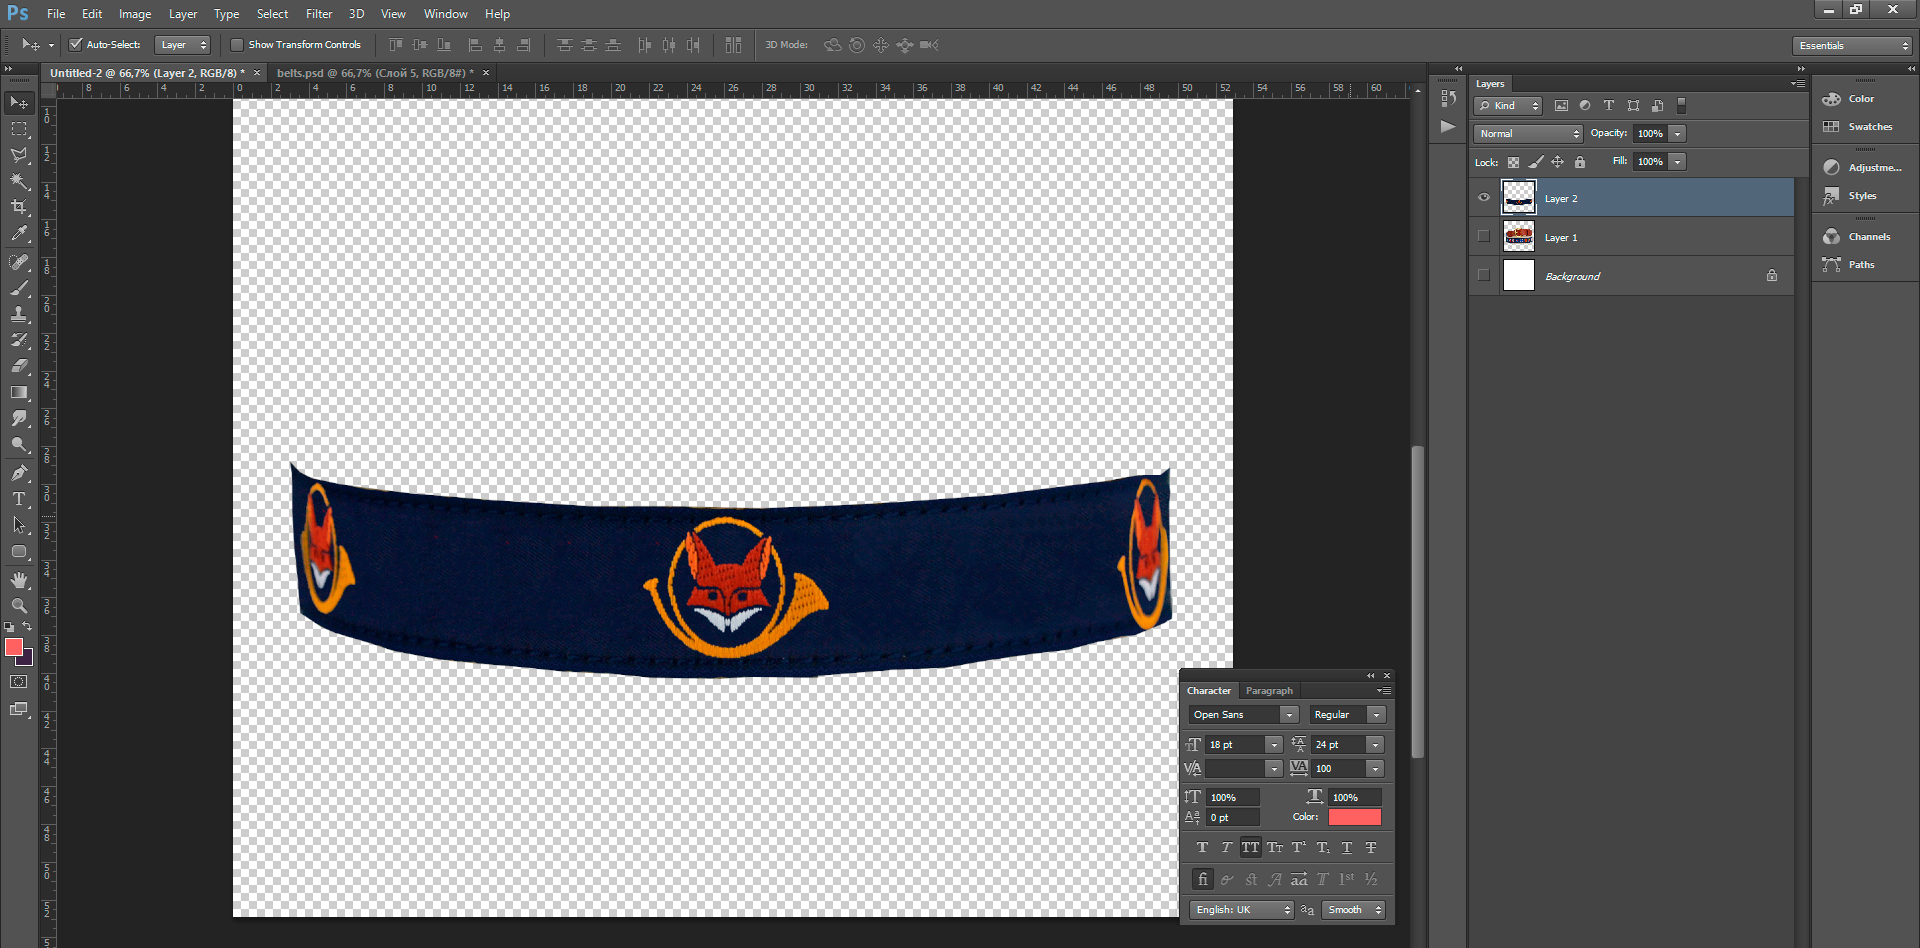
Don’t forget that this detail should be on the same place as on the main product (Use New Layer).
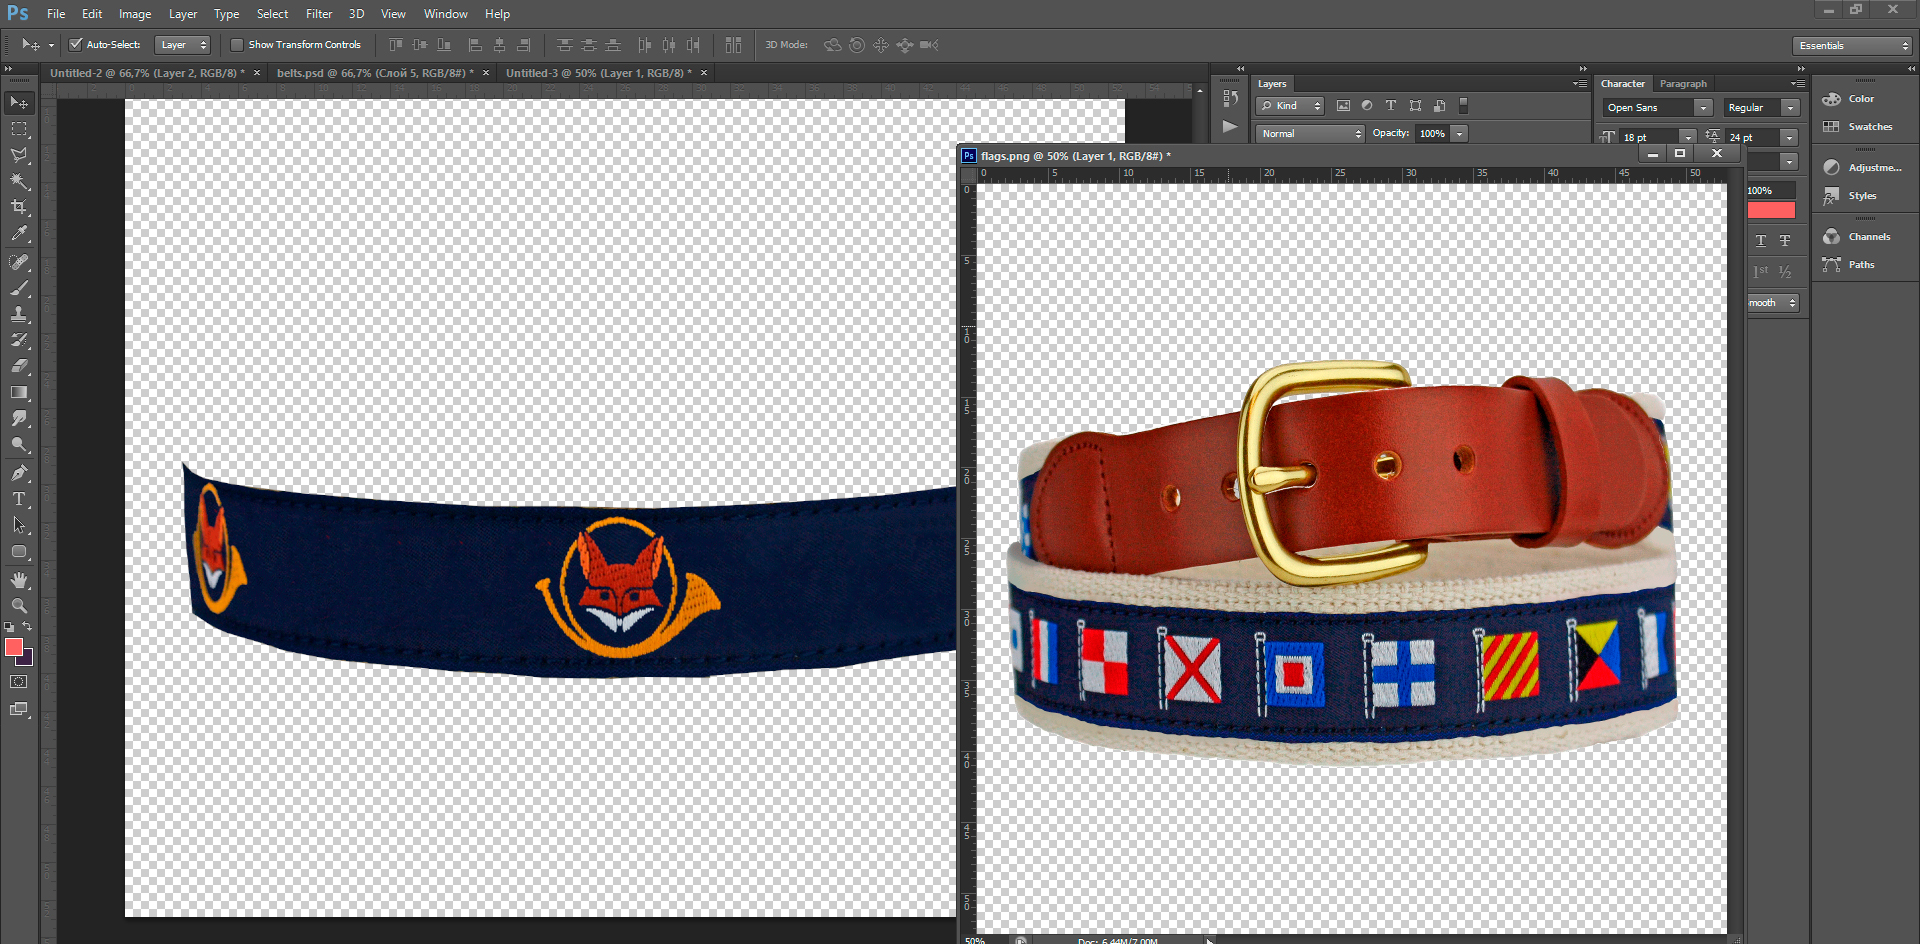
8) Then we need to add another detail on the same place. Open New Photo and drag it on the main document.
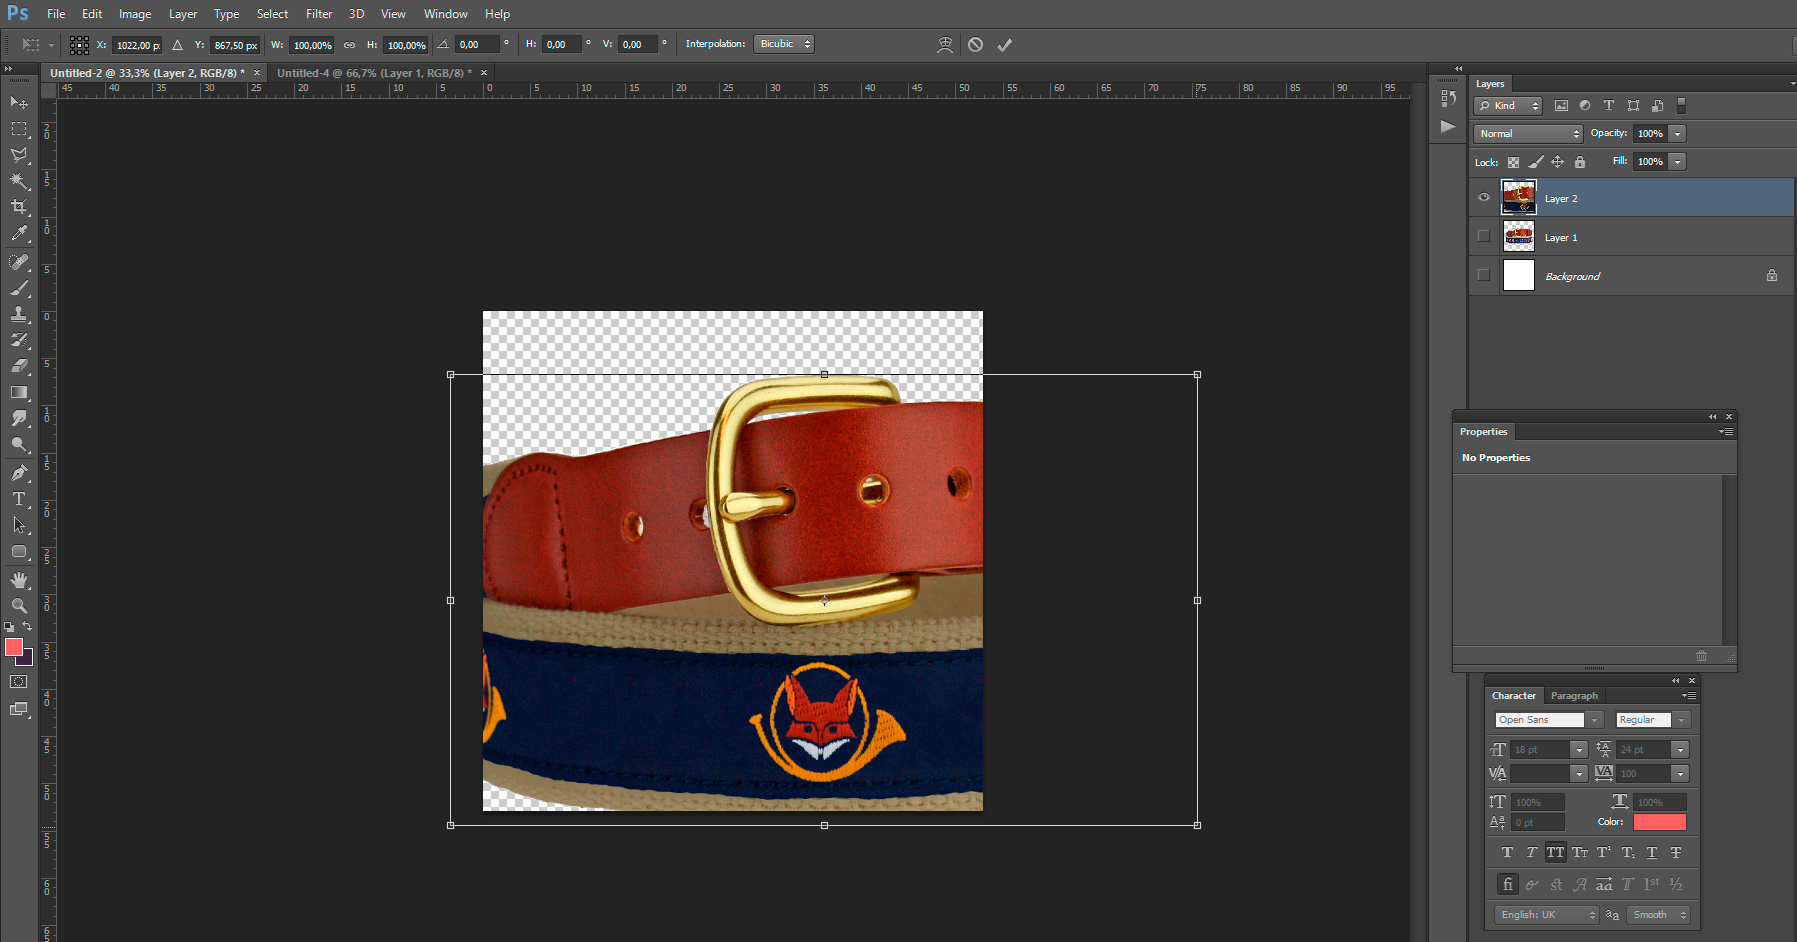
9) Click on the “Layer 2” with the right mouse button (1) and select “Create Clipping Mask” (2) (you can use Ctrl + T to select the desired position for the new part).
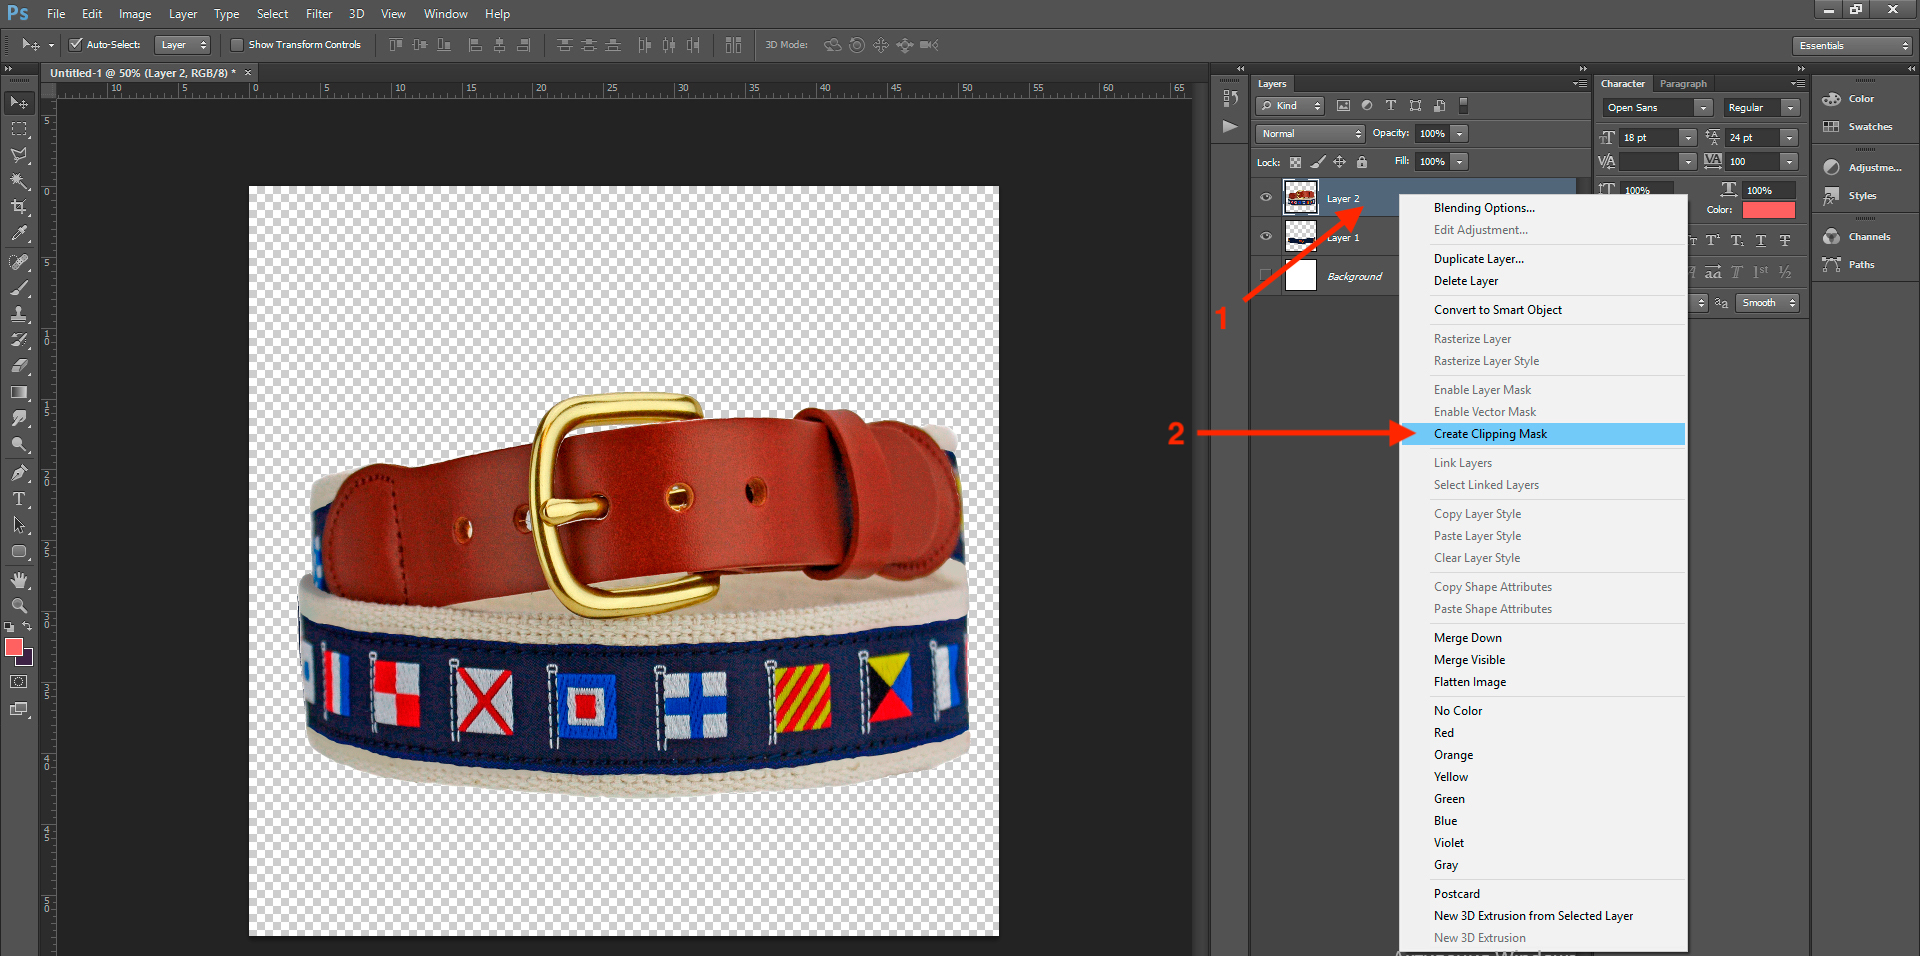
Repeat these steps for each detail you want to customize.
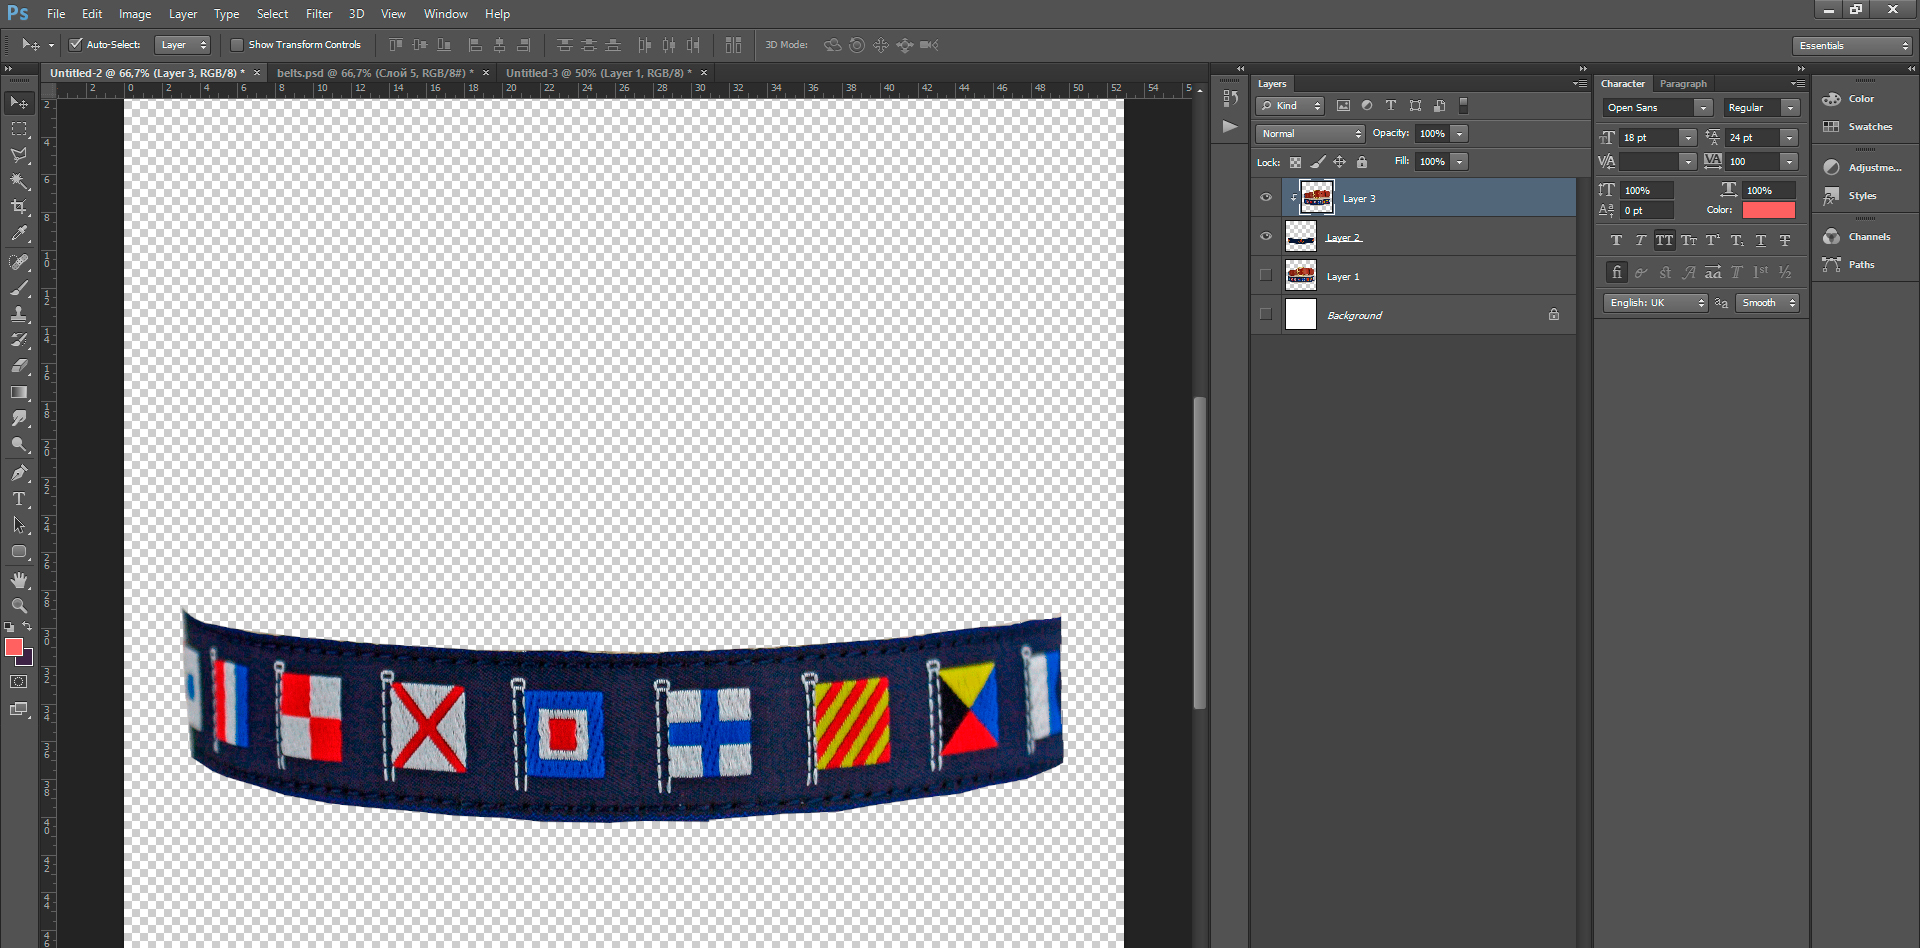
10) Now you need to save every detail of your product.
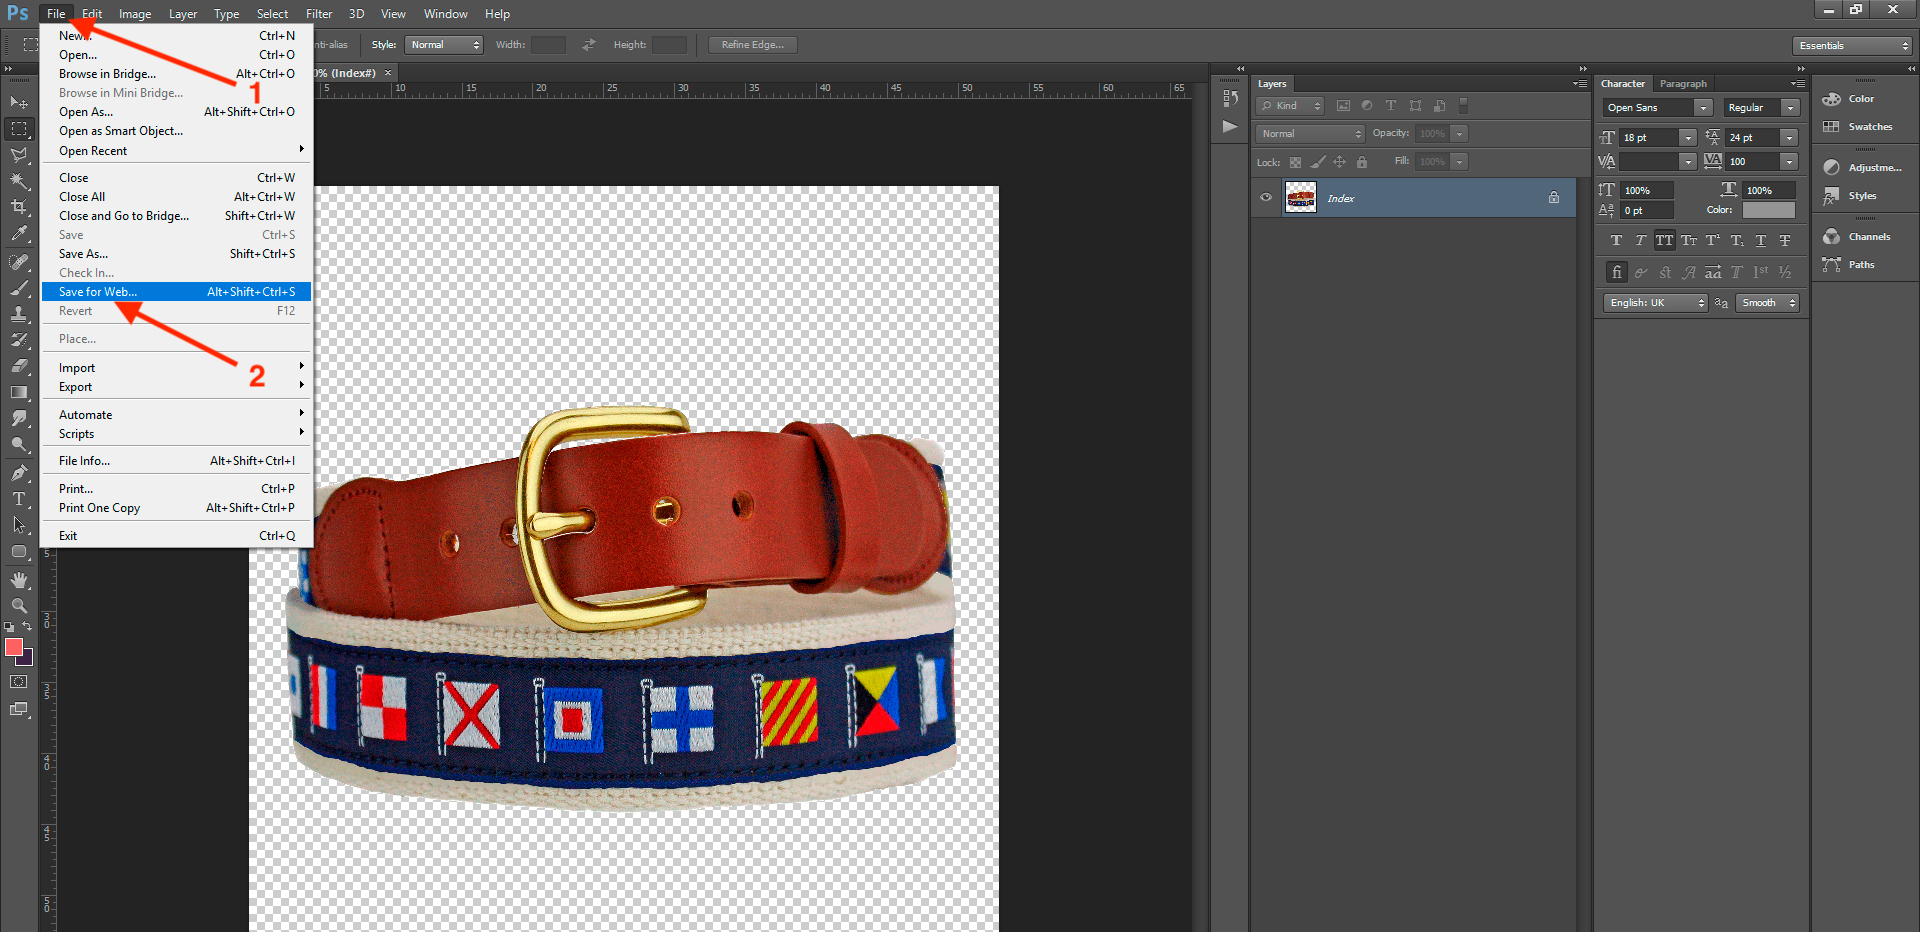
Click on “File” button (1), then on “Save For Web…” (2), or Alt + Shift + Ctrl + S
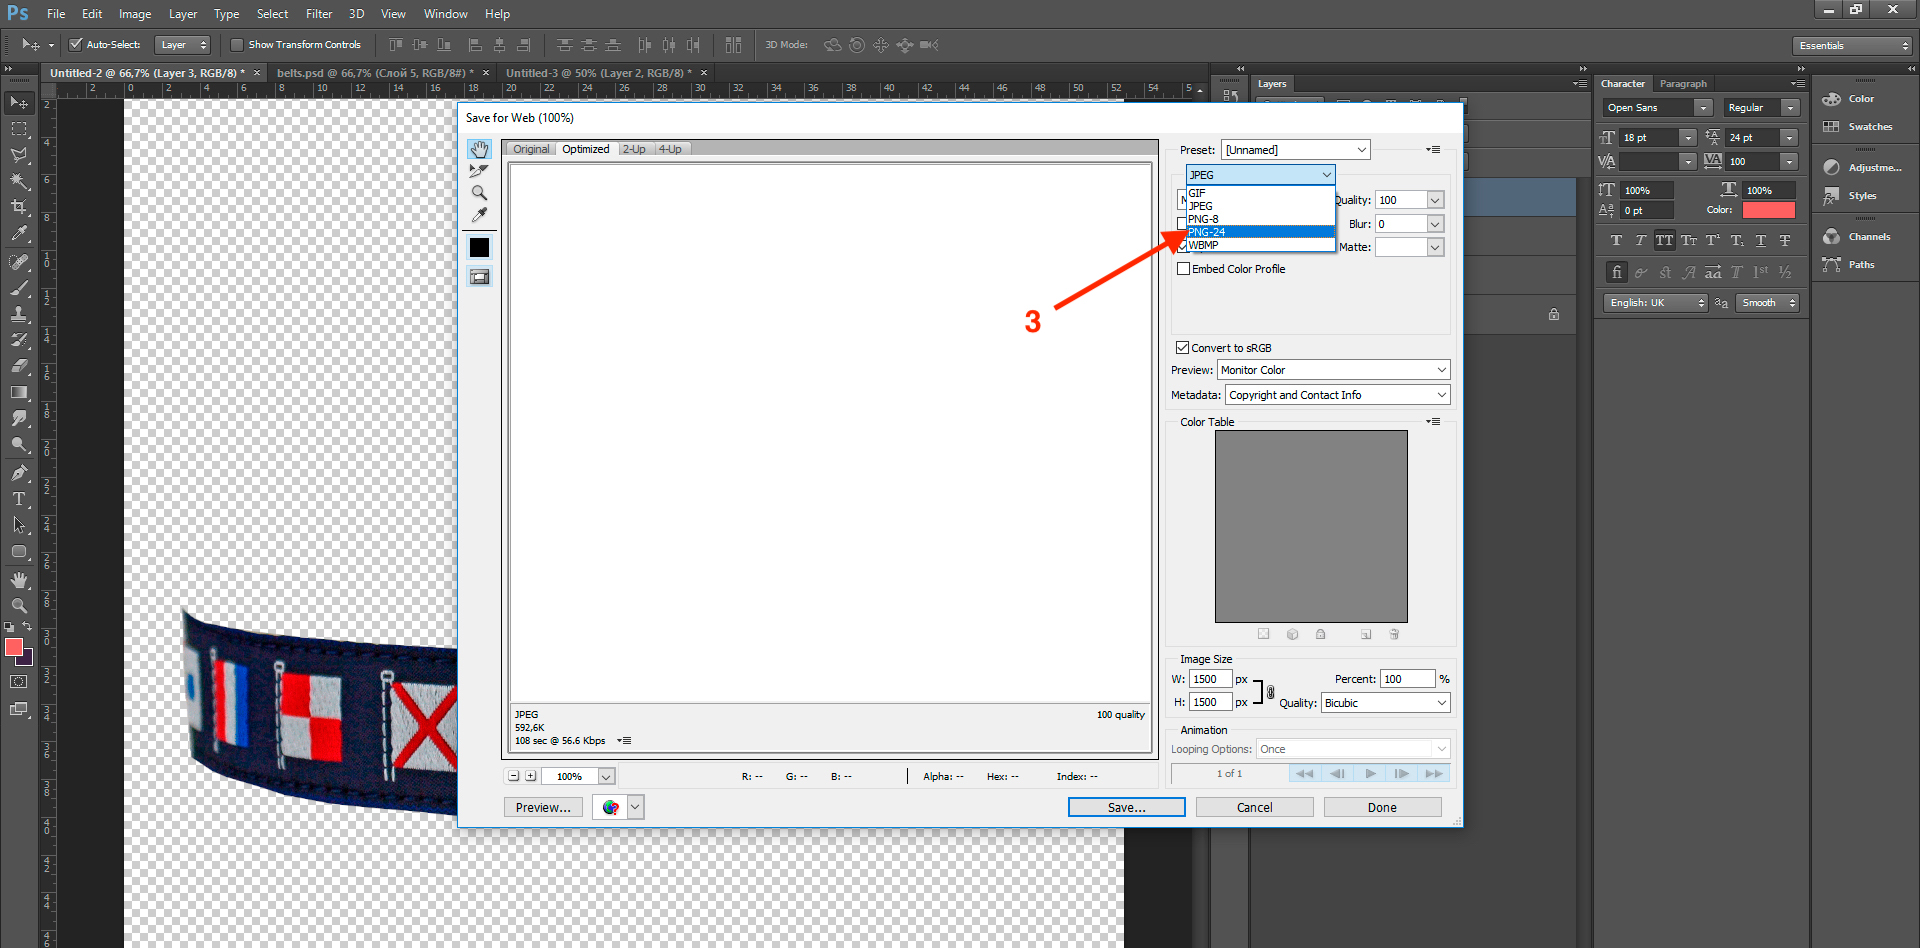
After it select “PNG – 24” (3) and click on “OK” button.
Also you can download the guide file:
Click here to open documentation for preparing images in Photoshop (PDF download)
Click here for a folder with sample product images.
Comments
0 comments
Please sign in to leave a comment.